How to Start Composting at Home: A Beginner’s Step-by-Step Guide
October 31, 2026 · 7 min read
Everything a beginner needs to start a compost pile at home: which bin to pick, where to put it, the greens-and-browns mix, what never goes in, how to fix a smelly pile and how to tell when your compost is ready.
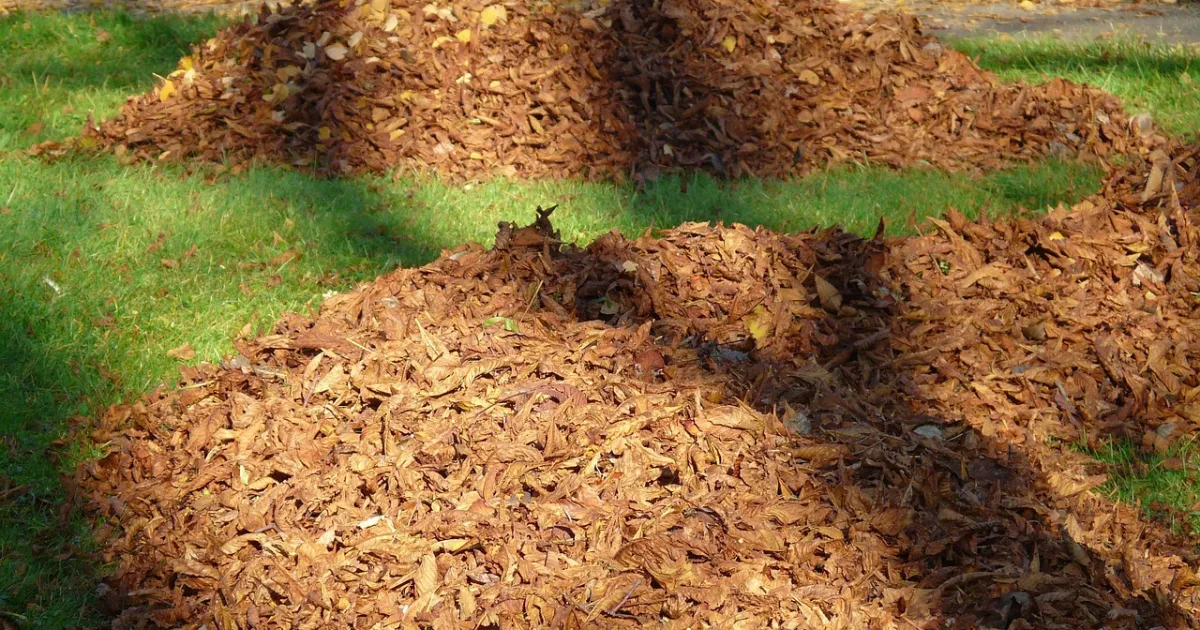
Composting turns kitchen scraps and yard waste into dark, crumbly material that feeds your soil. It cuts what goes to the landfill, saves money on soil amendments and, once it is set up, takes only a few minutes a week. You do not need a big yard or special skills: a small bin, the right mix of materials and a little attention are enough.
What you need to start
- A bin or a spot for a pile. A simple open pile works in a large yard; a bin keeps things tidy and helps keep animals out.
- A kitchen caddy with a lid to collect scraps indoors.
- A garden fork or compost aerator for turning.
- A supply of "browns": dry leaves, shredded paper or cardboard, kept next to the bin.
- Access to water, such as a hose or watering can.
Step 1: Choose the right bin
| Bin type | Good for | Keep in mind |
|---|---|---|
| Open pile | Large yards with lots of leaves | Cheapest; harder to keep tidy and animal-proof |
| Closed plastic bin | Most homes and small yards | Keeps out pests; turning inside it is harder |
| Tumbler | Small spaces, easy turning | Holds less; needs regular turning to work well |
| Wood or pallet bays | Gardeners with a steady supply of material | Two or three bays let one batch finish while another fills |
| Worm bin | Apartments, kitchen scraps only | Indoors or a sheltered spot; needs red wiggler worms |
If you are unsure, start with a closed bin of about 3 by 3 feet (roughly 1 by 1 meter). That size holds enough material to heat up and break down well.
Step 2: Pick a good spot
Place the bin on bare soil, so worms and other soil life can move in, in a spot that is level, drains well and is easy to reach with a bucket of scraps. Partial shade helps keep the pile from drying out in summer. Check local rules or homeowner association guidelines if you live somewhere with restrictions on outdoor bins.
Step 3: Learn the greens and browns
Compost needs two kinds of material. Greens are moist and rich in nitrogen; browns are dry and rich in carbon. Microbes need both.
| Greens (nitrogen) | Browns (carbon) |
|---|---|
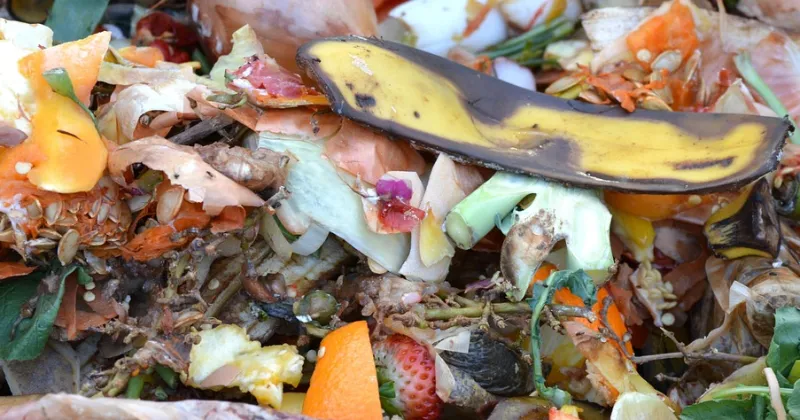
| Fruit and vegetable scraps | Dry leaves |
| Coffee grounds and tea leaves | Shredded newspaper and plain cardboard |
| Fresh grass clippings | Straw, sawdust and wood chips from untreated wood |
| Garden trimmings and spent plants | Paper towels and napkins without grease |
| Eggshells (crushed) | Dried plant stems |
A good starting point is about two to three parts browns to one part greens, by volume. You do not need to measure precisely: if the pile is wet and smells, add browns; if it is dry and nothing seems to happen, add greens and water.
Step 4: Know what stays out
Some materials attract pests, smell or carry problems back into your garden. For a home bin, leave out:
- Meat, fish and bones
- Dairy products, fats, grease and oils
- Pet waste and used cat litter
- Diseased or insect-ridden plants
- Weeds that have gone to seed
- Yard trimmings treated with pesticides
- Coal or charcoal ash
- Glossy or coated paper, plastics and "compostable" packaging that needs an industrial facility
Step 5: Build the pile
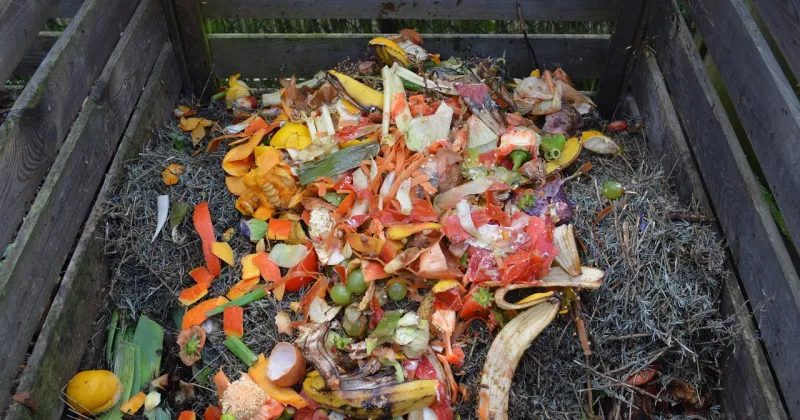
- Start with a layer of coarse browns, such as small twigs or straw, at the bottom for airflow.
- Add greens and browns in layers, or mix them as you go.
- Chop or tear large pieces: smaller pieces break down faster.
- Every time you add kitchen scraps, cover them with a layer of browns. This stops smells and fruit flies.
- Moisten dry materials as you add them.
How to start a compost pile without a bin
A bin is optional. In a larger yard, a free-standing pile works just as well and holds more material:
- Mark out a spot about 3 by 3 feet (1 by 1 meter) on bare soil, away from fences and house walls.
- Loosen the soil with a fork so worms and soil life can move up into the pile.
- Lay a base of twigs or straw, 4 to 6 inches (10 to 15 cm) deep.
- Build it up in layers of browns and greens, watering the dry layers, until the pile is about 3 feet tall.
- Cover the top with a layer of browns, and in a wet climate with an old tarp or piece of carpet to keep rain from soaking it.
Piles smaller than about 3 feet across lose heat and work slowly; much bigger ones are hard to turn. If you later want walls, our guide to making a compost bin has four simple builds.
How to make compost faster
A pile you add to now and then makes compost in about a year. To make it in a few months, build a hot batch:
- Collect first, build once. Stockpile browns and greens, then build the whole pile in one go so it reaches a size that heats up.
- Chop everything small. Run leaves over with a mower and cut stems into short pieces.
- Get the mix right. Enough greens to heat it up, such as fresh grass clippings or coffee grounds, with plenty of browns so it does not turn slimy.
- Turn it often. Turning every few days once the center has heated up keeps the microbes supplied with air.
- Keep it damp as you turn, since a hot pile dries out quickly.
When the pile no longer heats up after turning and the material is dark and crumbly, let it rest for a few weeks to cure before using it.
Step 6: Keep it moist and airy
A working compost pile is about as damp as a wrung-out sponge. Squeeze a handful: a few drops of water is right; dripping means too wet, crumbling dust means too dry.
Microbes also need oxygen. Turn or fluff the pile with a fork every week or two, bringing the outside material to the center. A well-balanced pile warms up in the middle: that heat is a sign the microbes are busy. Turning more often makes compost faster; turning less still works, just more slowly.
Step 7: Harvest your compost
Compost is ready when it is dark brown, crumbly and smells like a forest floor, and you can no longer recognize what went in. Depending on the materials, the season and how often you turn it, that takes from a few months to about a year. Sift out unfinished pieces and return them to the bin.
Use finished compost to top-dress garden beds, mix it into planting holes, add it to raised beds or spread a thin layer on your lawn.
Troubleshooting
| Problem | Likely cause | Fix |
|---|---|---|
| Rotten or ammonia smell | Too many greens, too wet, not enough air | Add browns, turn the pile |
| Nothing happens | Too dry or too many browns | Add greens and water, turn |
| Fruit flies | Exposed food scraps | Bury scraps and cover with browns |
| Animals digging | Meat, dairy or exposed scraps; open bin | Keep those items out, use a closed bin or a wire base |
| Pile is cold in winter | Normal in cold weather | Keep adding material; it will restart in spring |
Benefits of composting
- Less waste: food scraps and yard trimmings make up a large share of household trash.
- Better soil: compost improves soil structure, helps it hold water and feeds soil life.
- Fewer bought products: you need less fertilizer and potting mix.
- A living science lesson: children can watch decomposition happen, which is why many schools run compost bins. Our guide to composting at school covers that setup.
No yard? Try a worm bin
If you live in an apartment, a worm bin can turn kitchen scraps into rich castings indoors. It uses red wiggler worms in a ventilated container with moist shredded paper as bedding: see our guide to worm composting. Bokashi is another option that fits under a sink. Many cities also run food-scrap drop-off points or curbside collection, which is worth checking if a bin is not an option.
Questions
How do I start composting for beginners?
Choose a bin and a spot on bare soil, collect kitchen scraps and dry leaves or paper, mix roughly two to three parts browns to one part greens, keep the pile as damp as a wrung-out sponge and turn it every week or two.
What should not go in compost?
Meat, fish, bones, dairy, fats and oils, pet waste, diseased plants, weeds with seeds, pesticide-treated trimmings and coal or charcoal ash.
How long does compost take to make?
From a few months to about a year, depending on the materials, the weather and how often the pile is turned.
Why does my compost smell?
Usually because it is too wet or has too many greens and not enough air. Add dry browns and turn the pile.
How do you make compost step by step?
Pick a spot or bin on bare soil, lay a base of twigs, add browns and greens in layers, water until damp, then turn the pile every week or two until it is dark and crumbly.
Can I start a compost pile on the ground?
Yes. Bare soil is the best base: it drains well and lets worms and microbes move into the pile.
Can I compost in an apartment?
Yes. A worm bin works indoors for kitchen scraps, and many cities offer food-scrap drop-off or collection.
 Composting Worms: Which Worms to Use and How to Care for Them
 Composting Do's and Don'ts: What to Add, What to Avoid
 How to Start a Compost Bin: Your First Fill, Step by Step